
Instructions on
'How To Adapt Your Kleenex Box'
for use with my Tissue Box Covers
It has been a challenge . . . Procter and Gamble has changed their family size tissue box size twice since I have designed my beautiful covers for this specific size tissues. Nonetheless . . . I have been able to find ways so that my fabulous designs can still be used. Sure it takes a little extra effort on the users side . . . but I think my unique creations are well worth the effort. If you feel the same way . . .
. . .follow these instructions to adapt a Kleenex or other brand 200 2-ply tissue box for use with my tissue cover:
1) Buy any size Puffs Box

2) Buy a large 210 2-ply Kleenex or other brand tissue box. They are still on the market right now and they are the same size as the previous 200 2-ply Puffs box.
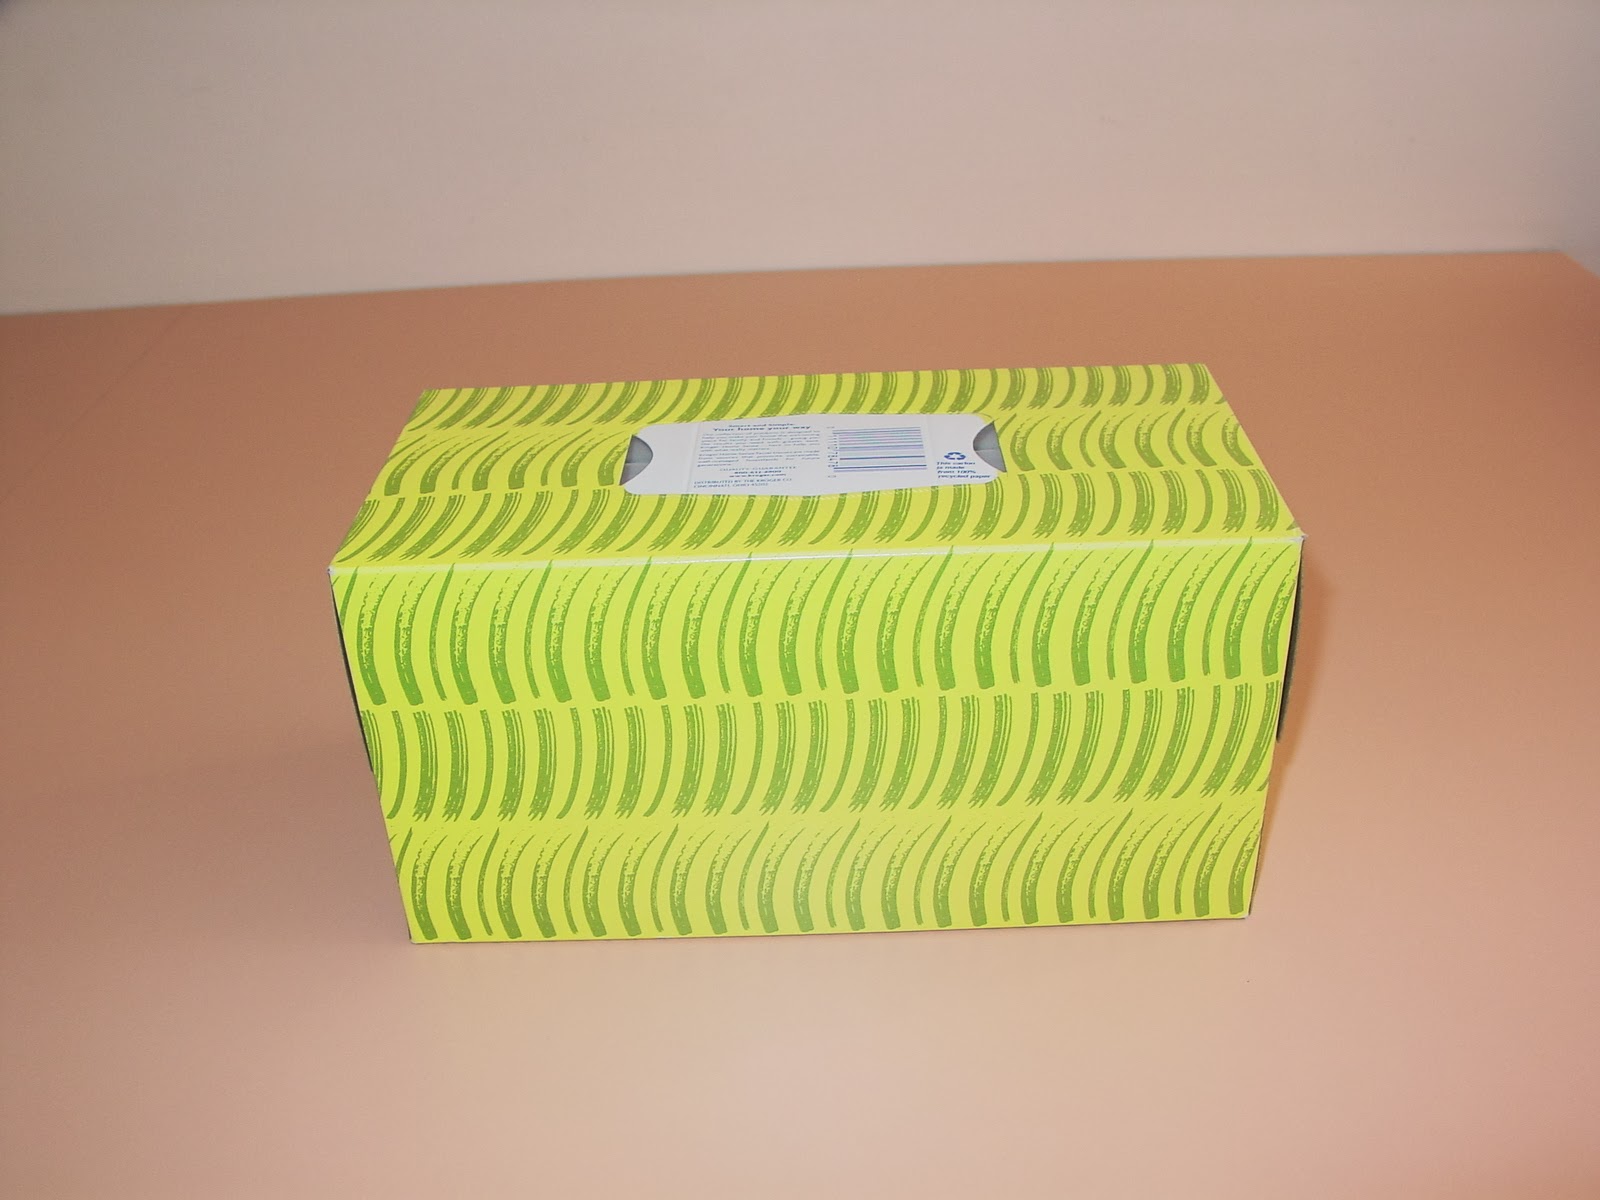
2) Use scissors or an Exacto knife (knife works best) to carefully cut off the top of the box as shown in the picture below.

3) Remove the cut-out opening from a Puffs box.

4) Center the cut-out opening in the front of the 'Kleenex' box and with a marker or pen, mark approximately 1/8 inch around the front opening of the Puffs cut-out as shown by the dotted line in the picture below.

5) Use scissors to carefully cut around the dotted line.

6) Reinforce the upper corners of the box with Scotch tape or a little glue. Use cloth pins or paperclips to hold the corners in place until the glue is dry.
7) Place your tissue cover over the box.

7) Refill the box with your favorite tissues as needed.
Enjoy a beautiful, stylish tissue box cover !
Visit me on Facebook
Visit my website
No comments:
Post a Comment